Storyline 3: Capturing text of your learner and displaying it elsewhere
Learn how to personalize your project by allowing your learner to input their name in a field and have their name displayed on another page.
This is great feature to apply if you have a certificate of completion at the end your project or if you want to personalize it using the participants name.
Level of difficulty: Easy
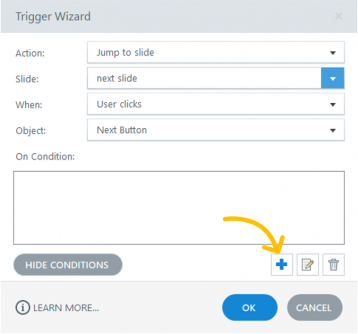
Follow the detailed steps. Click the + to expand.
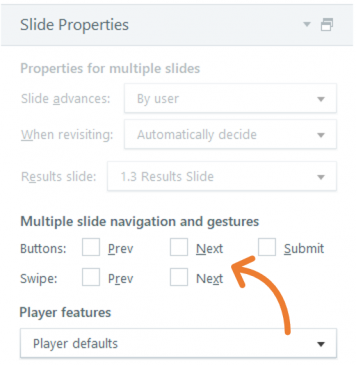
Inserting a Data Entry Field in your slide
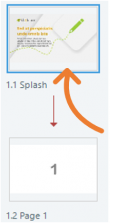
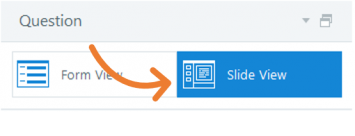
1. Select your first slide in slide view.
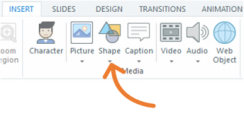
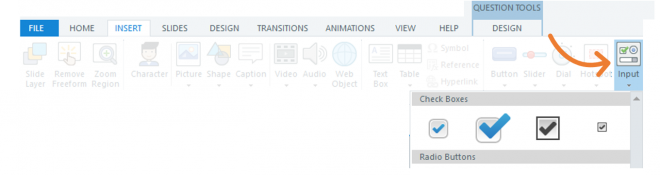
2. From the Insert tab, go to the Interaction Objects group.
![]()
3. Click the Input button.
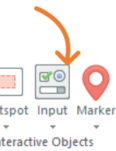
4. From the options, click Text Entry Field from Data Entry category.

5. Place the text entry field in your slide.
![]()
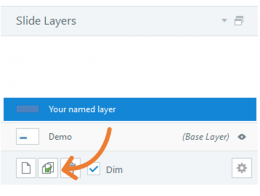
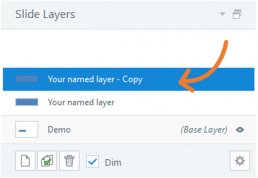
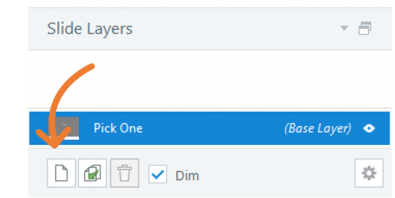
You can apply these optional steps
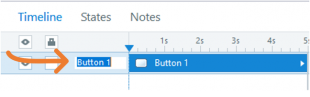
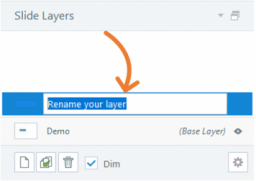
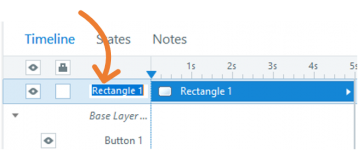
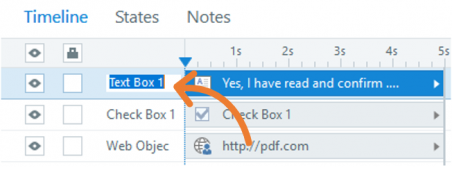
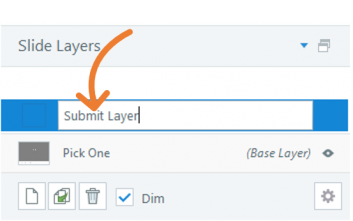
• Rename the object in your timeline. For example, ParticipantName
• Change the properties of the object. For example, font type, size, or color
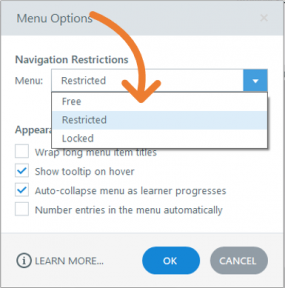
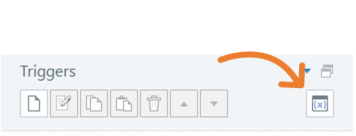
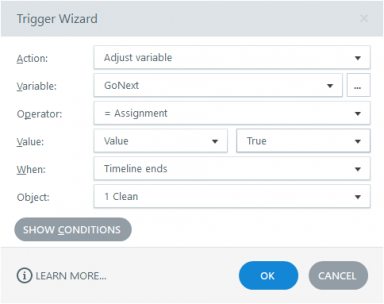
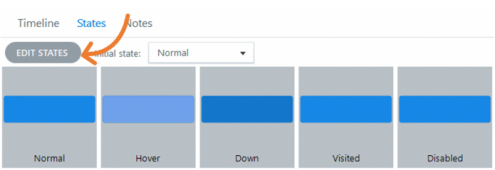
Modifying your Project Variables
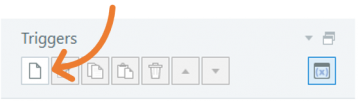
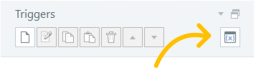
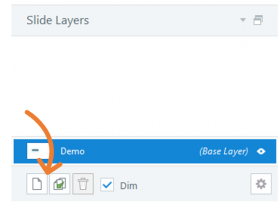
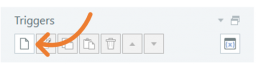
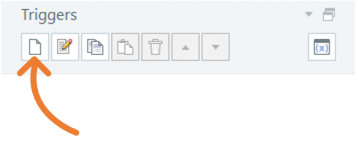
1. Go to the Triggers panel and click the click the Manage Project Variables button
![]()
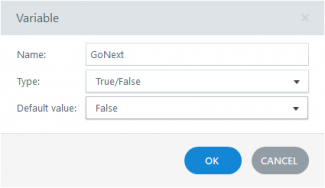
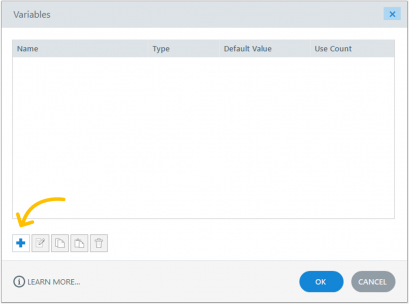
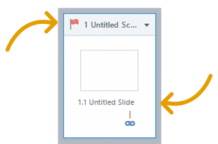
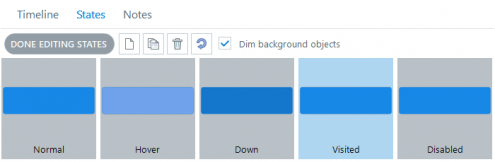
2. The Variables window will appear. Notice a Variable is auto-generated when you created the Text Entry Field
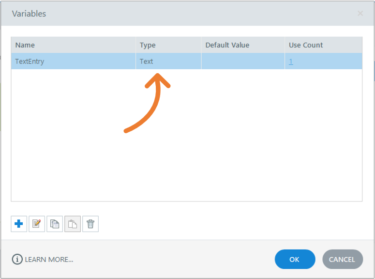
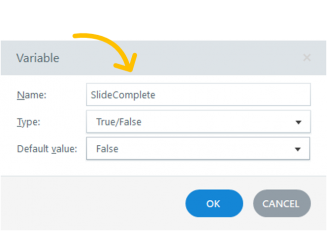
3. Double-click the variable.
4. Refer to the variable Name and Default value fields and rename and add a default value. For example, YourName in the variable Name field and Insert your name in the Default value field.
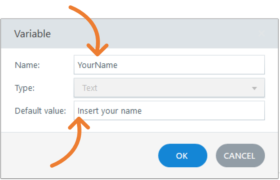
Keep this variable name in mind. You will need to refer to this later in the project.
6. Click the OK button to close the Variable window.
7. Click the OK button to close the Variables window.
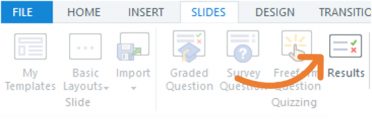
Displaying the Data Information on Another Page
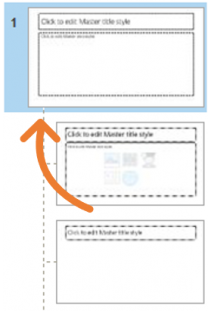
1. Select a slide where you want the data to be displayed
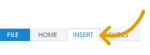
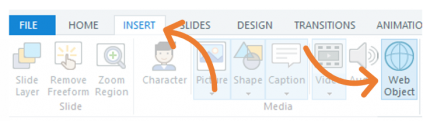
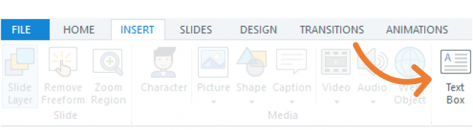
2. Click the Insert tab
![]()
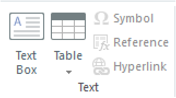
3. From the Text group, click text box and insert it on our slide.
 Important. Make sure your cursor is blinking in the text box.
![]()
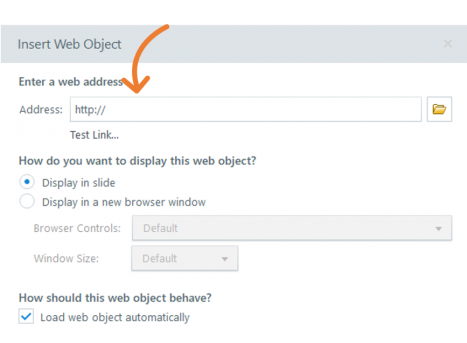
4. Refer to the Insert tab
![]()
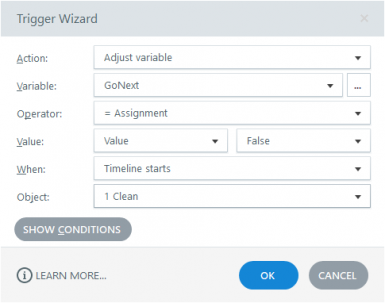
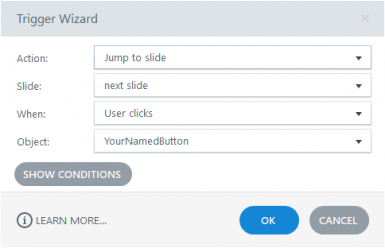
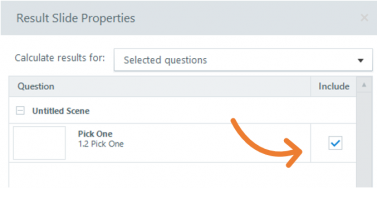
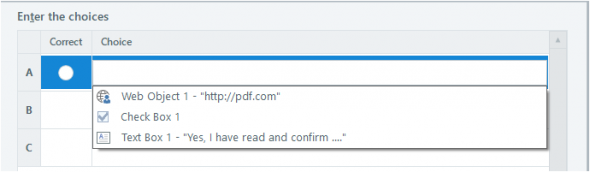
5. From the Text group, click the Reference button – a reference window will appear.

6. Select the Variable name. For example, YourName.
7. Click the OK button
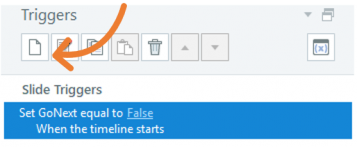
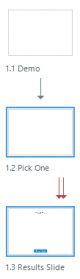
8. The Variable will auto-populate in the text box.
![]()
9. Save and preview your project.
Did you find this useful? We need your support to empower others like you through learning.