Storyline 3: Track Complete in your LMS without a quiz
There are times when you don’t want a trackable quiz at the end of your project but would like to mark your learner complete in your learning management system. You can apply this method to your training design.
The steps shown are done when you’re at the end of your project and you’re ready to publish to SCORM or AICC for your LMS.
Follow the steps. Click to expand.

Open an existing project
1. Click File
2. Select Open
3. Browse to your existing project
4. From Story View, select the last slide of your project
Inserting a Freeform Question slide
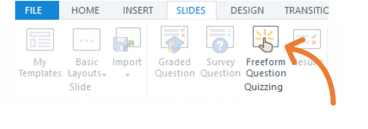
1. From Story View, click the Slides tab
2. Click the Freeform Question button from the quizzing section – the Freeform Questions window will appear
3. From the options, select Pick One
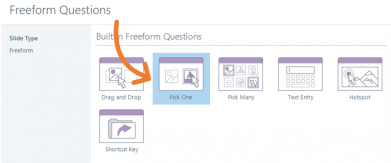
4. Click the Insert Slide button – a new slide will appear named by default Pick One
5. Click the Design (QUESTION TOOLS) tab
6. From the Display section, apply the following values:
•Feedback: None
•Shuffle: None

8. Go to Story View
9. Click the Pick One slide
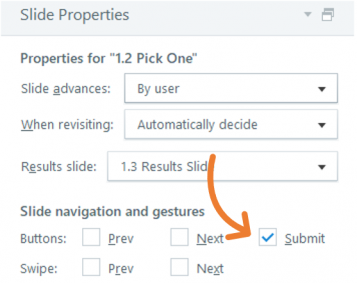
10. Refer to the Slide Properties panel
11. From the Slide navigation and gestures, uncheck mark Submit
Inserting the Results slide
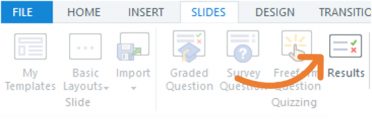
1. Click the Slides tab
2. Click the Results button from the quizzing section
3. From the options, select Blank Results Slide
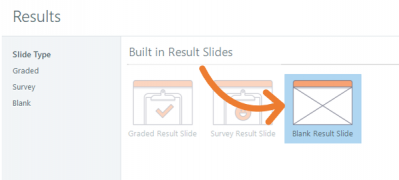
4. Click the Insert button – The Results Slide Properties window will appear
5. From the Results Slide Properties window, ensure the Pick One slide is selected
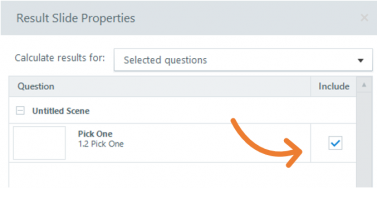
6. Click the OK button
Adding objects, inserting and modifying triggers
Adding a submit button to the Pick One slide
1. Select the Pick One slide
2. Click the Insert tab
3. Click Button from the Interactive Objects section

4. Add your button to the slide
Label your button
1. Right-click the button on your slide
2. Select Edit Text from your dropdown list
3. Label your button, Submit
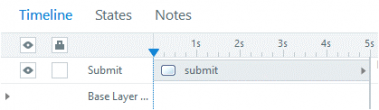
Name your button in your timeline
1. Click the button on the slide to highlight the object in your Timeline
2. Double-click the name-field in the Timeline
3. Rename the object's name
Adding two triggers to the submit button
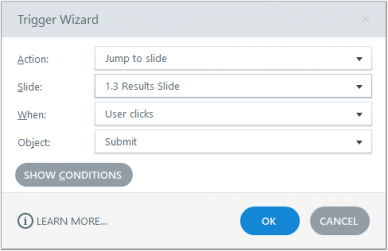
Trigger 1
1. Click the Submit button
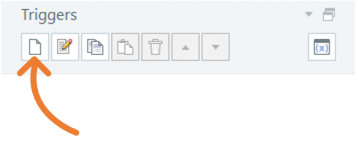
2. Refer to the Triggers panel and click Add Trigger hyperlink - a Trigger Wizard window will appear

3. Apply the following values to the fields and click the OK button.
• Action: Jump to Slide
• Slide: Select Results slide
• When: User Clicks
• Object: Submit
Trigger 2
1. Ensure the Submit button is still selected
2. Click Create a new trigger button - a Trigger Wizard window will appear
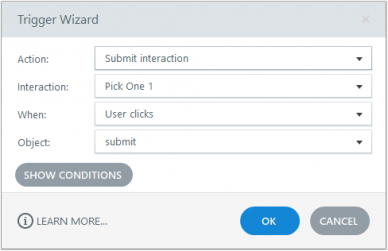
3. Apply the following values to the fields and click the OK button
• Action: Submit Interaction
• Interaction: Pick One
• When: User Clicks
• Object: Submit
Modifying the objects on the Results slide
By default, Storyline will add a Review Quiz button on the Results slide.
In this scenario, the Review Quiz button object in the Results slide is unnecessary and we can change it to an Exit button.
1. Right-click the Review Quiz button
2. Select Edit Text from your dropdown list
3. Relabel your button to Exit
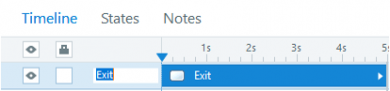
4. Click the Exit button on the slide to highlight the object in your Timeline
5. Double-click the name field in the Timeline
6. Rename the object's name
Modifying the Trigger on the Exit Course button
1. Click the Exit button on the slide to highlight the object in your Triggers panel
2. Double-click the trigger, Review Results …when user clicks – the Trigger Wizard window will appear
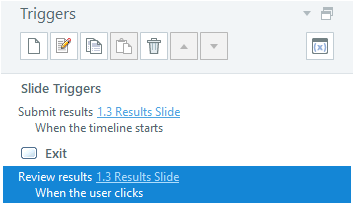
3. From the Trigger Wizard panel, refer to the Action dropdown
4. From the Action dropdown, select Exit Course
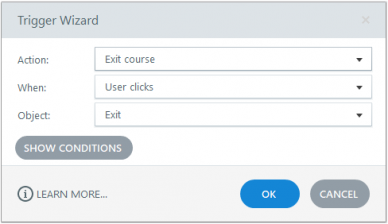 5. Click the OK button
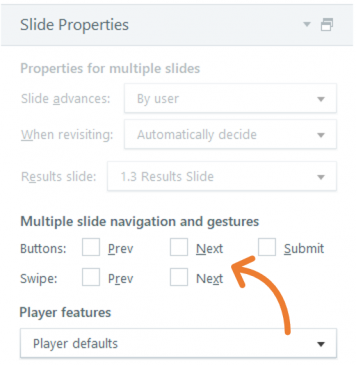
Modifying Slide navigation and gestures
1. Go to Slide View
2. Highlight the Pick One and Results slides (CTRL + Mouse-click)
3. Go to Slide Properties and refer to Slide navigation and gestures section
4. Ensure the following is unchecked:
• Prev
• Next
• Submit
5. Publish your project to SCORM or AICC
Did you find this useful? We need your support to empower others like you through learning.